Victoria sponge – Celebration Cake!
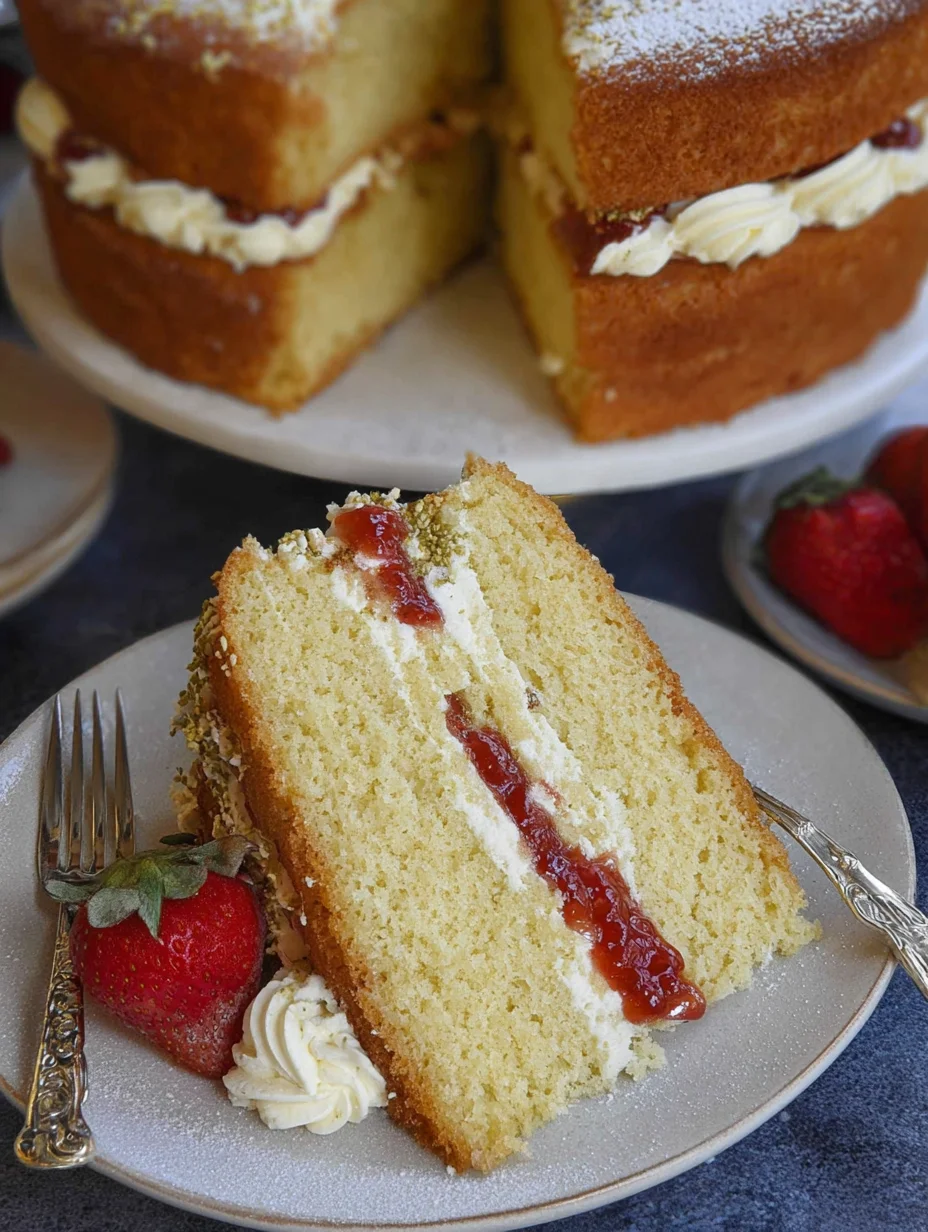
There’s something utterly magical about a classic Victoria Sponge that takes me right back to cozy afternoon teas in my grandma’s kitchen. If you’ve ever wondered how to capture that light, fluffy perfection with just a few simple ingredients, you’re in for a treat. This Victoria Sponge recipe has been my go-to for years, delivering that signature soft crumb and sweet strawberry jam filling every single time.
I remember the first time I attempted to make Victoria Sponge – it was a bit of a disaster with the layers not rising evenly, but now I’ve perfected it to the point where it’s foolproof. What I love most is how it brings people together; whether it’s for a birthday or just a weekend bake, this Victoria Sponge never fails to impress. Let’s dive into the details so you can create your own delicious masterpiece – trust me, it’s easier than you think!
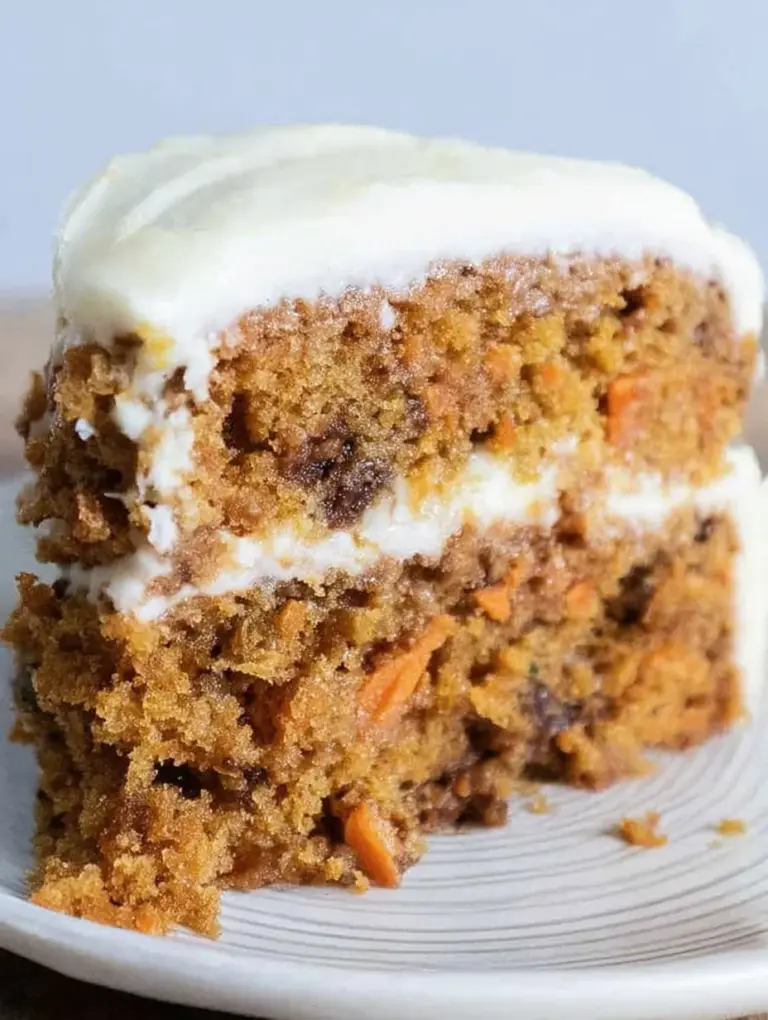
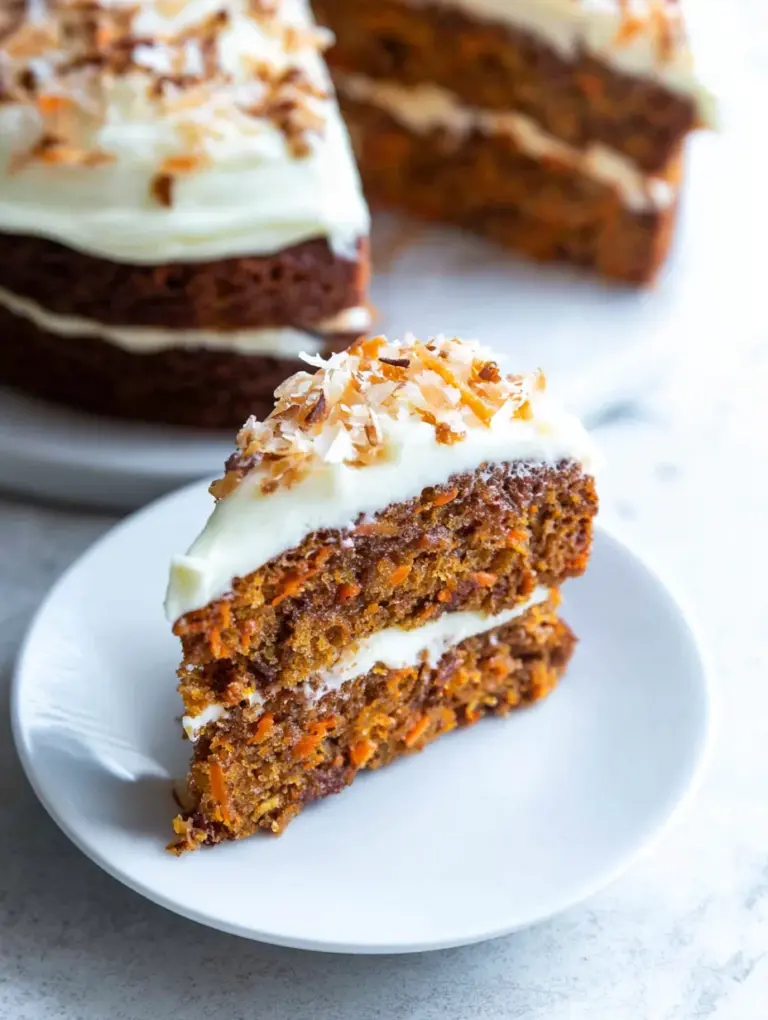
In my experience, starting with room-temperature ingredients makes all the difference for that tender texture. If you’re a fan of easy bakes, why not pair this with some carrot cake ideas for variety? I’m excited to share every step with you.
Grab This Chef Knife Now - Almost Gone!

- Stays Razor-Sharp: Ice-hardened blade keeps its edge longer than ordinary knives
- Superior Grip Control: Unique finger hole design gives you perfect balance and safety
- Built to Last a Lifetime: Premium stainless steel blade with elegant beech wood handle
- ✓ Finally, a knife that stays sharp and feels comfortable in my hand
- ✓ Professional quality without the premium price tag
- ✓ Makes meal prep faster and more enjoyable
⏰ Only a few items left in stock - order soon
Key Takeaways:
- Victoria Sponge is a timeless British classic that’s light, fluffy, and perfect for tea time.
- This recipe comes together in under an hour of active time, making it ideal for busy bakers.
- The combination of vanilla sponge, jam, and cream creates an unbeatable sweet-tangy flavor profile.
- Room temperature eggs and butter are key for the best rise and texture in your Victoria Sponge.
- Store leftovers in an airtight container for up to three days to keep it fresh.
Why You’ll Adore This Victoria Sponge
Effortless Elegance: There’s no need for fancy equipment – just basic pantry staples turn into a showstopper. I’ve made this Victoria Sponge for countless gatherings, and it always gets rave reviews without much fuss. It’s the kind of recipe that makes you look like a pro baker.
Versatile for Any Occasion: Whether it’s a casual coffee break or a fancy high tea, this sponge adapts beautifully. What I find interesting is how a simple twist like adding fresh berries elevates it instantly. You’ll love how it fits into your life so seamlessly.
Irresistible Texture: That golden, airy crumb paired with creamy filling is pure bliss. In my experience, it’s the buttery softness that keeps people coming back for seconds. This Victoria Sponge truly melts in your mouth.
Family-Friendly Fun: Get the kids involved in mixing – it’s a great way to bond. Here’s the thing: even novice bakers nail it, and the results are always heartwarming. Let’s be honest, who doesn’t love a homemade treat like this?
Grab This Kitchen Scale Now — Best Precision Pick!

- Razor-Accurate Every Time: Dual-increment precision down to 0.1g — perfect for baking, meal prep, and portion control with g, oz, ml, and fl'oz modes.
- Smart Removable Bowl Design: Detachable bowl doubles as a protective case for compact storage. Tare function lets you weigh ingredients in any container with zero fuss.
- Built for Everyday Convenience: Auto-zero, tare function, low battery alert, overload indicator, and 2-minute auto-off to extend battery life — all in a sleek stainless steel build.
- ✓ "Perfect for baking — precise, lightweight, and stores easily without wasting counter space"
- ✓ "A game changer! Weighing ingredients is now way more accurate than measuring cups"
- ✓ "Love the 0.1g precision and backlight — best food scale I've owned. Highly recommend!"
⏰ Only a few items left in stock - order soon
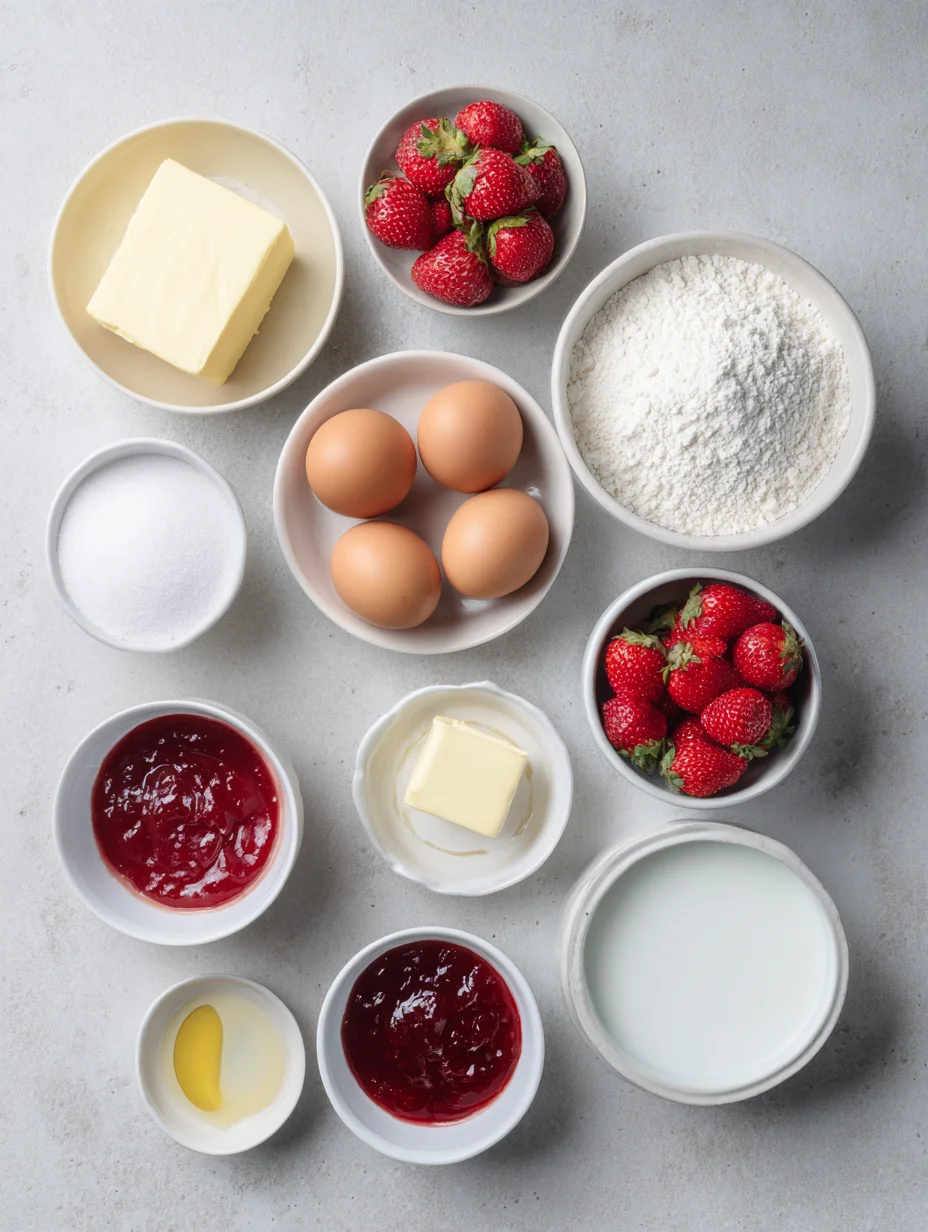
Essential Ingredients for Victoria Sponge
Unsalted Butter: At room temperature, this is the backbone of your Victoria Sponge’s rich flavor and tenderness. It creams beautifully with sugar to create air pockets that make the cake light. I’ve found that using high-quality butter really enhances the overall taste – don’t skimp here. Without it, you’d miss that classic buttery essence.
Golden Caster Sugar: This fine sugar dissolves easily, giving your Victoria Sponge its subtle caramel notes and perfect sweetness. It’s lighter than granulated sugar, which helps achieve that fluffy rise. In my baking adventures, switching to caster has been a game-changer for smoother batters. It balances the vanilla beautifully.
Self-Rising Flour: The built-in leavening agents ensure your Victoria Sponge rises evenly without extra baking powder hassles. It provides structure while keeping things soft and airy. For this Victoria Sponge, sifting it in prevents lumps and promotes even baking. It’s what makes the cake so delightfully light.
How to Make Victoria Sponge
Prepare the Batter
Start by beating the room-temperature butter and sugar together until pale and fluffy – this usually takes about 5 minutes with an electric mixer. Add the eggs one at a time, mixing well after each, and throw in a splash of vanilla extract for that warm aroma. Gently fold in the sifted self-rising flour to keep the air in, creating a batter that’s smooth and inviting. In my experience, this step is crucial for the light texture of your Victoria Sponge – don’t overmix, or it’ll toughen up.
Bake the Sponges
Divide the batter evenly between two greased and lined 8-inch cake tins, then smooth the tops for an even bake. Pop them into a preheated 350°F oven for 20-25 minutes, until they’re golden and a toothpick comes out clean. You’ll smell that sweet vanilla wafting through your kitchen, building anticipation. Let them cool in the tins for 10 minutes before turning out onto a wire rack – this prevents sogginess.
Assemble Your Masterpiece
Once fully cooled, spread a generous layer of strawberry jam on one sponge, then whip up some double cream and dollop it on top. Sandwich the second sponge over, dust with powdered sugar, and voila – your Victoria Sponge is ready to slice. The contrast of soft cake, tangy jam, and creamy filling is heavenly. For a fun twist, check out this strawberry chocolate cake if you want to experiment further.
Ingredients
- 200g unsalted butter, softened
- 200g golden caster sugar
- 4 large eggs, room temperature
- 200g self-rising flour, sifted
- 1 tsp vanilla extract
- 100g strawberry jam
- 200ml double cream, for whipping
- Powdered sugar, for dusting
Victoria Sponge Instructions
- Preheat oven to 350°F (175°C). Grease and line two 8-inch round cake tins.
- Cream butter and sugar until light and fluffy, about 5 minutes.
- Beat in eggs one by one, adding vanilla with the last egg.
- Fold in sifted flour gently until just combined.
- Divide batter between tins and bake for 20-25 minutes, until golden.
- Cool in tins for 10 minutes, then transfer to wire rack.
- Whip cream to soft peaks. Spread jam on one cooled sponge, top with whipped cream, then place second sponge on top.
- Dust with powdered sugar and serve immediately.

Pro Tips for the Best Victoria Sponge
Room Temperature Everything: Ensure eggs and butter are at room temp for better emulsification and rise. This simple step makes your Victoria Sponge incredibly fluffy.
Don’t Overbake: Check at 20 minutes – overbaking leads to dry cake. A skewer clean with a few moist crumbs is perfect.
Fresh Jam Matters: Use homemade or high-quality jam for vibrant flavor that shines through in every bite of your Victoria Sponge.
You Must Know
- Victoria Sponge originated in the 19th century, named after Queen Victoria’s favorite teatime treat.
- The equal weight rule (butter, sugar, eggs, flour) is the secret to its balanced, light structure.
- Always sift dry ingredients to avoid lumps and promote even rising.
- This recipe yields a cake that’s naturally dairy-heavy, so adjust for dietary needs with substitutes.
How to Store Victoria Sponge
To keep your Victoria Sponge fresh, wrap individual slices in plastic or store the whole cake in an airtight container at room temperature for up to two days. For longer storage, refrigerate it for up to five days, but let it come to room temp before serving to restore that soft texture. If freezing, wrap tightly and it lasts a month – just thaw overnight. I’ve found this method keeps the jam and cream layer from weeping.
Customizing Your Victoria Sponge
Feel free to swap strawberry jam for raspberry or lemon curd for a zesty twist on the classic Victoria Sponge. If you’re vegan, use plant-based butter and aquafaba instead of eggs – it works surprisingly well. For extra indulgence, add fresh berries between layers. Check out this raspberry cheesecake for more fruity inspiration.
What to Serve with Victoria Sponge
Pair your Victoria Sponge with a pot of Earl Grey tea for an authentic British experience – the bergamot notes complement the sweetness perfectly. For a lighter touch, serve alongside fresh strawberries and a dollop of clotted cream. If you’re hosting, add some scones or shortbread biscuits to the spread. Don’t forget a refreshing iced coffee or lemonade to balance the richness.

Victoria sponge - Celebration Cake!
A delicious classic bake - A Victoria Sponge. Soft & light cakes, strawberry jam, vanilla buttercream & fresh strawberries!
Timing
Recipe Details
Ingredients
- 01 400 g unsalted butter (softened)
- 02 400 g caster sugar
- 03 400 g eggs (roughly 8 eggs)
- 04 400 g self raising flour
- 05 2 tsp baking powder
- 06 4 tbsp whole milk
- 07 150 g unsalted butter
- 08 450 g icing sugar
- 09 1/2 tsp vanilla extract
- 10 175 g strawberry jam
- 11 fresh strawberries
FILED UNDER:
NUTRITION FACTS (PER SERVING)
Nutrition information is calculated using an ingredient database and should be considered an estimate. In cases where multiple ingredient alternatives are given, the first listed is calculated for nutrition. Garnishes and optional ingredients are not included.
Frequently Asked Questions About Victoria Sponge
Can I make Victoria Sponge ahead of time?
Absolutely, bake the sponges a day in advance and store them wrapped in cling film. Assemble just before serving to keep the cream fresh. This way, your Victoria Sponge stays moist and delicious.
How long does Victoria Sponge last in the fridge?
Kept in an airtight container, it stays good for up to five days in the fridge. The flavors even meld a bit, making it tastier on day two. Just avoid direct contact with strong odors.
Can I freeze Victoria Sponge?
Yes, freeze the baked sponges separately for up to three months. Thaw at room temperature and assemble fresh. It’s a great time-saver for parties.
What’s the best jam for Victoria Sponge?
Strawberry jam is traditional, but any seedless berry jam works wonderfully in this Victoria Sponge. Go for one with real fruit for authentic flavor. I’ve tried apricot too, and it’s delightful.
Why didn’t my Victoria Sponge rise?
Often, it’s due to cold ingredients or overmixing the batter. Ensure everything’s room temp and fold gently. Next time, your Victoria Sponge will puff up beautifully.
Is Victoria Sponge gluten-free possible?
Swap self-rising flour for a gluten-free blend with xanthan gum. This Victoria Sponge adapts well – just test bake a small batch first. It turns out nearly identical.
How do I know when Victoria Sponge is done baking?
The edges should pull away from the tin, and a toothpick inserted in the center comes out clean. Aim for 20-25 minutes at 350°F. Overbaking dries it out, so keep an eye.
Can I add flavors to Victoria Sponge?
Infuse the batter with lemon zest or almond extract for variety. For chocolate lovers, a dusting of cocoa works too. Experiment, but keep it subtle to honor the classic.
Final Thoughts
From the first creamy bite to the last crumb, this Victoria Sponge recipe captures all the joy of traditional baking with a modern ease. I’ve shared it with friends and family, and it always sparks smiles and seconds. Why not give it a whirl this weekend? You’ll be hooked, and I’d love to hear how your version turns out – bake on!